I’ll never forget the first time I watched a professional makeup artist work her magic backstage at a fashion show. She reached for one single product to tackle dark circles, redness, and to sculpt the model’s cheekbones. That product? A concealer palette. I had a lightbulb moment. I’d been using my single, skin-tone concealer for everything and wondering why my under-eyes still looked grey or my blemishes still peeked through.
A concealer palette isn’t just a fancy version of your go-to cover-up; it’s a complete complexion toolkit in one compact. But if you’ve ever opened one and felt intimidated by the rainbow of shades, you’re not alone. As a beauty expert, I’m here to demystify it for you. Let’s break down exactly how to use a concealer palette to achieve that airbrushed, flawless finish you see all over your feed.
Why Use a Palette? The Power of Color Theory
The secret behind a concealer palette is color correcting. It uses the principles of the color wheel to neutralize imperfections before you even apply your foundation or skin-tone concealer.
Here’s your quick cheat sheet to what each shade does:
- Peach/Orange: Neutralizes dark blue/purple tones. This is your hero for dark circles on medium to deep skin tones.
- Salmon/Pink: Neutralizes bluish-purple tones on fair to light skin tones. Perfect for fair folks with dark circles.
- Green: Counteracts redness. Use a tiny dot on blemishes, rosacea, or broken capillaries.
- Lavender/Purple: Brightens and neutralizes dullness and sallow (yellow) tones. Great for an all-over brightening effect on light to medium skin.
- Yellow: Neutralizes mild redness and purple tones. It can also be used to set correctors or brighten the inner corners of the eyes.
- Your Skin-Tone Shades: These are for traditional concealing after color correcting, or for highlighting and contouring.
How to Use Your Palette: A Step-by-Step Guide
- Prep is Key: Start with a moisturized and primed face. This ensures the creamy formulas blend seamlessly and don’t look cakey.
- Color Correct First: Using a small, precise brush (like a lip or detail brush), apply your corrector shades only to the areas that need neutralizing. Remember: less is more. You only need a tiny amount.
- Dab peach under the eyes.
- Tap green on any red spots.
- Use lavender on the center of the forehead or chin to combat dullness.
- Gently Blend: Pat the correctors into the skin with your fingertip or a damp beauty sponge. Do not rub, or you’ll wipe the product away.
- Apply Foundation: Now, apply your foundation over the top. Stipple or pat it on to avoid moving the correctors underneath. You’ll see the magic happen—those discolorations will have vanished!
- Conceal & Contour: Now, use the lighter shades in the palette to highlight under the eyes, the bridge of the nose, and the cupid’s bow. Use the deeper shades to subtly contour under the cheekbones and jawline. Blend everything well.
Top Product Picks for Every Budget
- Best Drugstore Option: NYX Color Correcting Concealer Palette. Affordable, creamy, and highly blendable. A perfect starter kit.
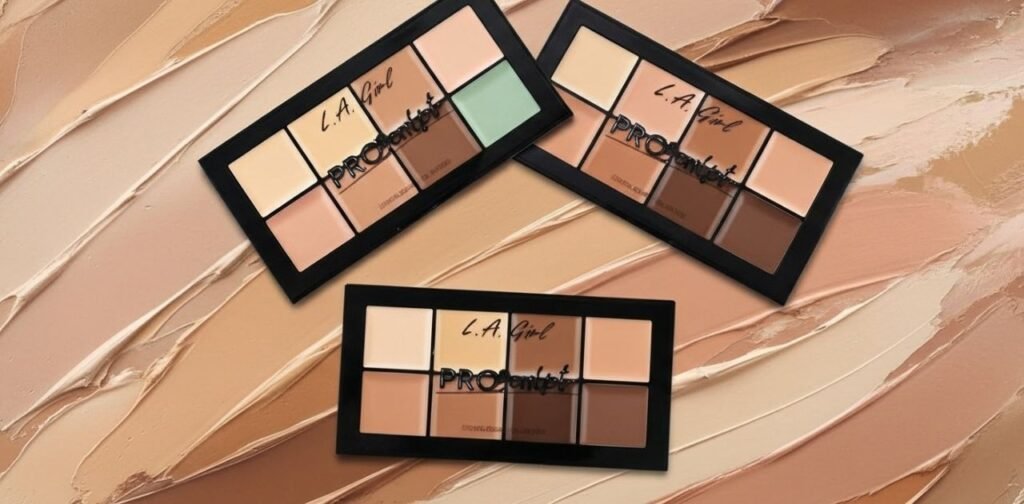
- Best Professional Pick: LA Girl HD Pro Concealer Color Correctors. These come as individual tubes, so you can build your own perfect palette of shades.
- Best Luxury Splurge: MAC Studio Fix Conceal and Correct Palette. A cult-classic for pros, with amazing pigment and staying power.
The Honest Pros & Cons
Pros:
- Ultra-Customizable: You can mix shades to create your perfect match.
- Solves Complex Issues: Tackles problems a single concealer can’t, like severe dark circles or redness.
- All-in-One: Functions as a corrector, concealer, highlighter, and contour palette.
Cons:
- Learning Curve: It takes practice to know which shades to use and where.
- Can Be Overkill: For everyday “no-makeup” makeup, a single concealer is often faster and easier.
- Formula Matters: Some palettes can be dry, especially under the eyes, so look for creamy, blendable formulas.
A concealer palette might seem like a pro tool, but it’s honestly a game-changer for anyone who wants real, next-level results from their makeup.
I’m curious: have you ever tried color correcting? What’s your biggest struggle when it comes to covering up imperfections? Share your thoughts below!